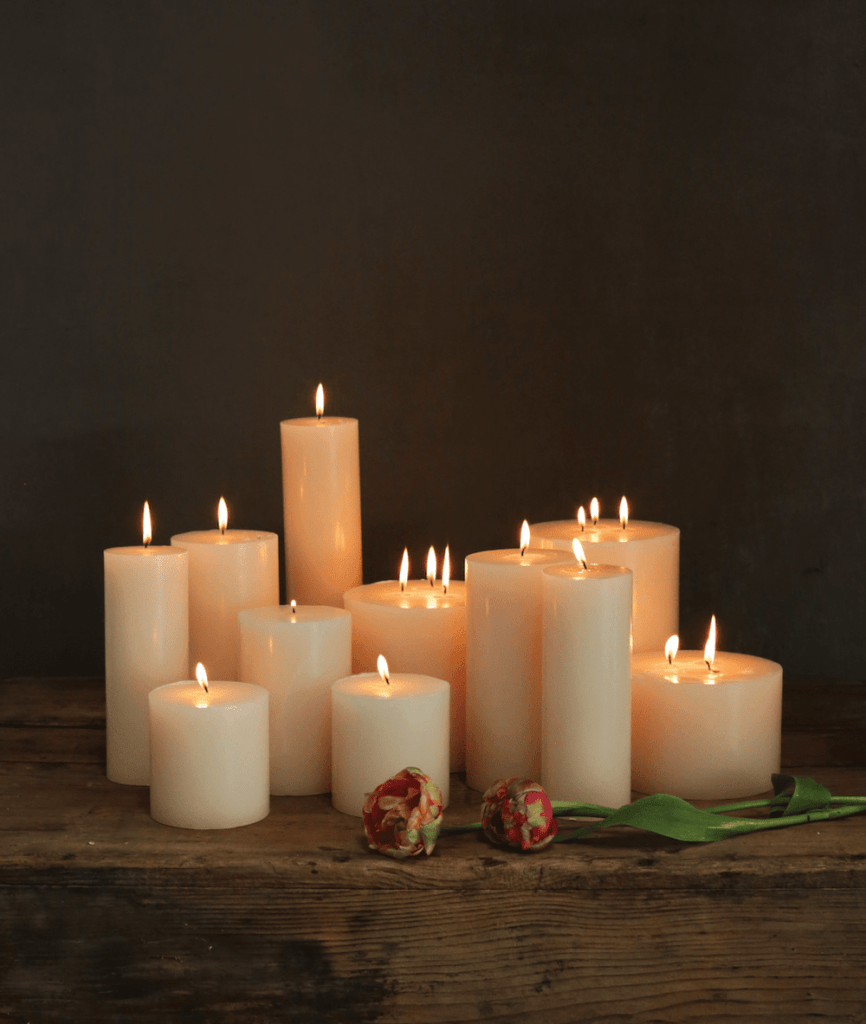
How To Make a Pillar Candle by Murari Paradise Candles
Pillar candles are elegant and classic, and making them at home can be a rewarding experience. Here’s a basic guide to get you started:
Materials:
* Pillar candle wax: Soy & Paraffin wax is a popular choice for its clean burn.
* Candle wicks: Choose the appropriate size based on your candle diameter.
* Candle dye: Optional, for adding color.
* Fragrance oil: Optional, for adding scent.
* Double boiler or wax melter: To melt the wax safely.
* Thermometer: To monitor wax temperature.
* Pillar candle molds: Or you can use empty tin cans or other suitable containers.
* Wick stickers: To secure the wick in place.
* Pouring pitcher: For easy wax transfer.
Instructions:
* Prepare your molds: If using tin cans, clean them thoroughly and punch a small hole in the center of the bottom for the wick. Secure the wick with a wick sticker.
* Prepare the wax: Melt the wax in a double boiler or wax melter, following the wax manufacturer’s instructions. Be careful not to overheat the wax.
* Add color and fragrance: If desired, add candle dye and fragrance oil to the melted wax. Stir gently to combine.
* Pour the wax: Carefully pour the melted wax into the prepared molds.
* Let it cool: Allow the candles to cool completely undisturbed. This may take several hours.
* Trim the wick: Once the candles are completely set, trim the wick to about 1/4 inch.
Tips:
* Safety first: Always follow safety precautions when working with hot wax.
* Experiment with scents: Try different fragrance oils to create unique candles.
* Consider adding layers: For a more complex look, pour different colored waxes in layers.
* Proper wick size: Using the correct wick size is crucial for proper burning.
For a more detailed guide with visuals, check out these resources:
* CandleScience Tutorial: [invalid URL removed]
* Murari Paradise Candle Supply:https://murariparadise.com/
Would you like to learn about specific techniques, such as adding layers or creating embedded designs?Contact Us

Contact us